Thursday, March 31, 2011

tiny tug part 13


 The stern view of the glassed hull.
 More of the same.
 Looking up at the stern from what will be the top.
Looking up at the front from what will be the top. My Mate Russel came over and we laid up the entire boat in three layers in four hours. The resin caused ripples in the putty and the whole thing will have to be sanded again to get a good finish for the mould but all is not lost as this will be the first boat from the mould.

Sunday, March 27, 2011

little tugboats part12

The photos speak for themselves. 


Friday, March 25, 2011

These are some pictures of my paddle tug

 Its about a metre long. Has 24 different timbers in it and was started in 1988.


Thursday, March 24, 2011

tug boat part12

 More sanding takes time and is getting closer.

 Couldn't help myself  for seven dollars both compressor and angle grinder. Both work. I need a bigger shed.

little tugboat part 11

The above shows all the planking done and more filler applied and sanded. 
Still a few blemishes to get done.
The stern showing the lines this is how the old timers used to make there boats. No plans just a half model.  If it looked right it was right. The shadows give the wrong impression of the lines

tiny tug boat part10


Finished the planking and am putting up and fairing the hull.

Sunday, March 20, 2011

Tiny tugboat part9


This shows the water coming down Just as well That I moved the tug into the shed


 More work one to go on this side.

small tug boat part 8


This is the harbour that I used to hang out and work at.


 More work done in the last days I have moved into the shed because of the rain.
 The photos are self explanatory.


 The bow with filler on it.

Monday, March 14, 2011

scarf joints

 When cutting scarf cut them from the blunt end not the pointy end. Pull the cut to the saw and it will leave the off cut at the side where the blade is coming down and if the off cut vibrates into the saw it is cut by the teeth of the blade. the photo hopefully explains. The off cut is at the top of screen. The problem is that table saws only have one switch and by standing at the back of the saw you loose the ability to switch off the machine. Simple have two way switching and the problem is solved

Friday, March 11, 2011

tiny tug boat part 7

The photos speak for themselves.

This shot above is looking under the hull from the right showing the small pieces that hold the planks in place and give stiffness.
This is on the right you can tell where this is because of the block on one of the frames.
The above is under the bow right side.
More stiffeners.
This photo shows block betrwwn the hull and the keel frame.

The above and below shots show where it is on the boat. Note the vertical piece.

The bow....... front.
General shot right side. I am not going to use nautical terms as this will confuse new builders. This is the starboard side of the boat for the purists.

Wednesday, March 9, 2011

Ride in model tug part 6

The pictures speak for themselves. I was rained out again today.
You will notice that the third former has changed shape as I thought it to be too full.In fact I have changed all three former shapes as I went along, the only one not changed is the forth from the front.
 
The next shows how big the motor is for the boat

Ride in model tug boat part 5

What do I power such a model with you ask.
Well this I got it from the tip shop in Wollongong the other day for $2 and it is powered by eight "D" cells making 12 volts and is 100 watts. I will use a larger battery pack to give longer duration. These are used in blow up pool boats and are supposed to give 2/km/hour. Here's hoping.

Monday, March 7, 2011

Tiny tugboat part 4

I have made some patches and they need to be applied from the back and I could not get behind so the solution was to apply them from the outside.
The reason for the holes is I got the shape wrong and had to modify it on the run.
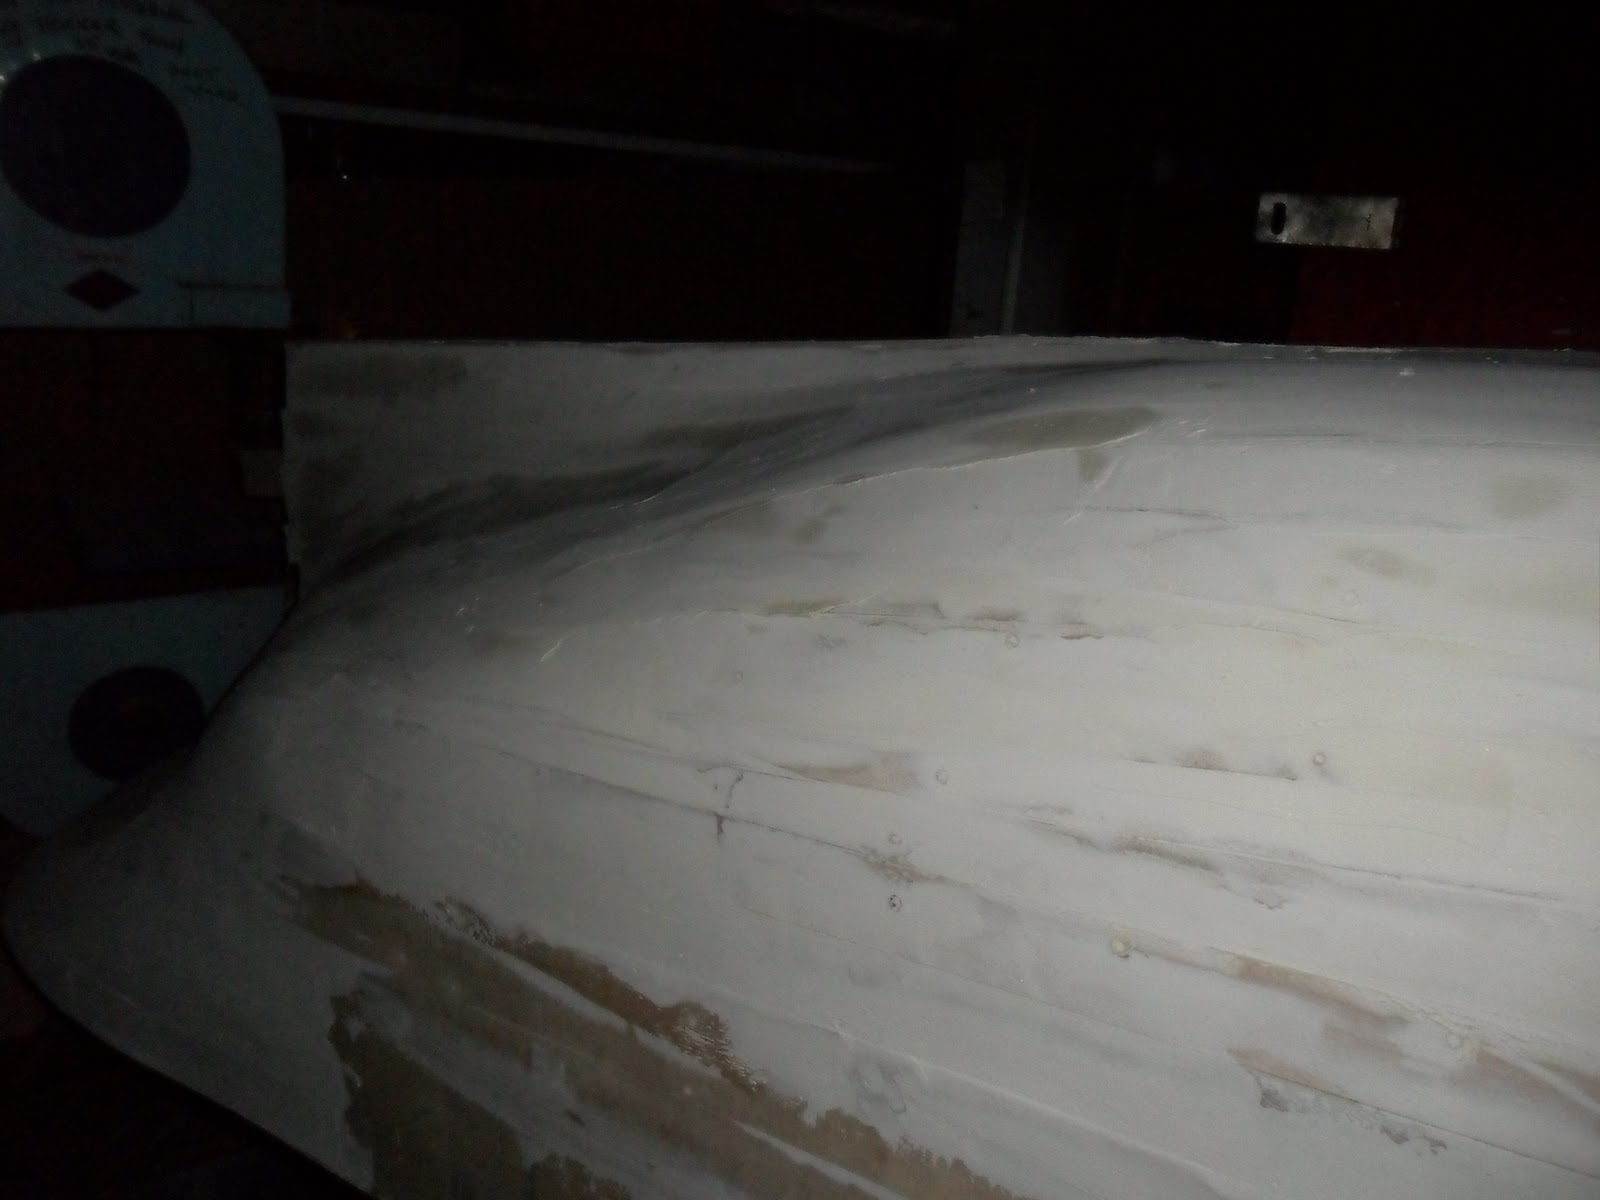
This next photo shows the patch to be placed in from the outside and this is how it would look viewed from the inside.
 
The next photo shows how the patches are held into position.
The purple is a rubber band to hold the patch in place.
The above photo shows one patch in place and the second going in.

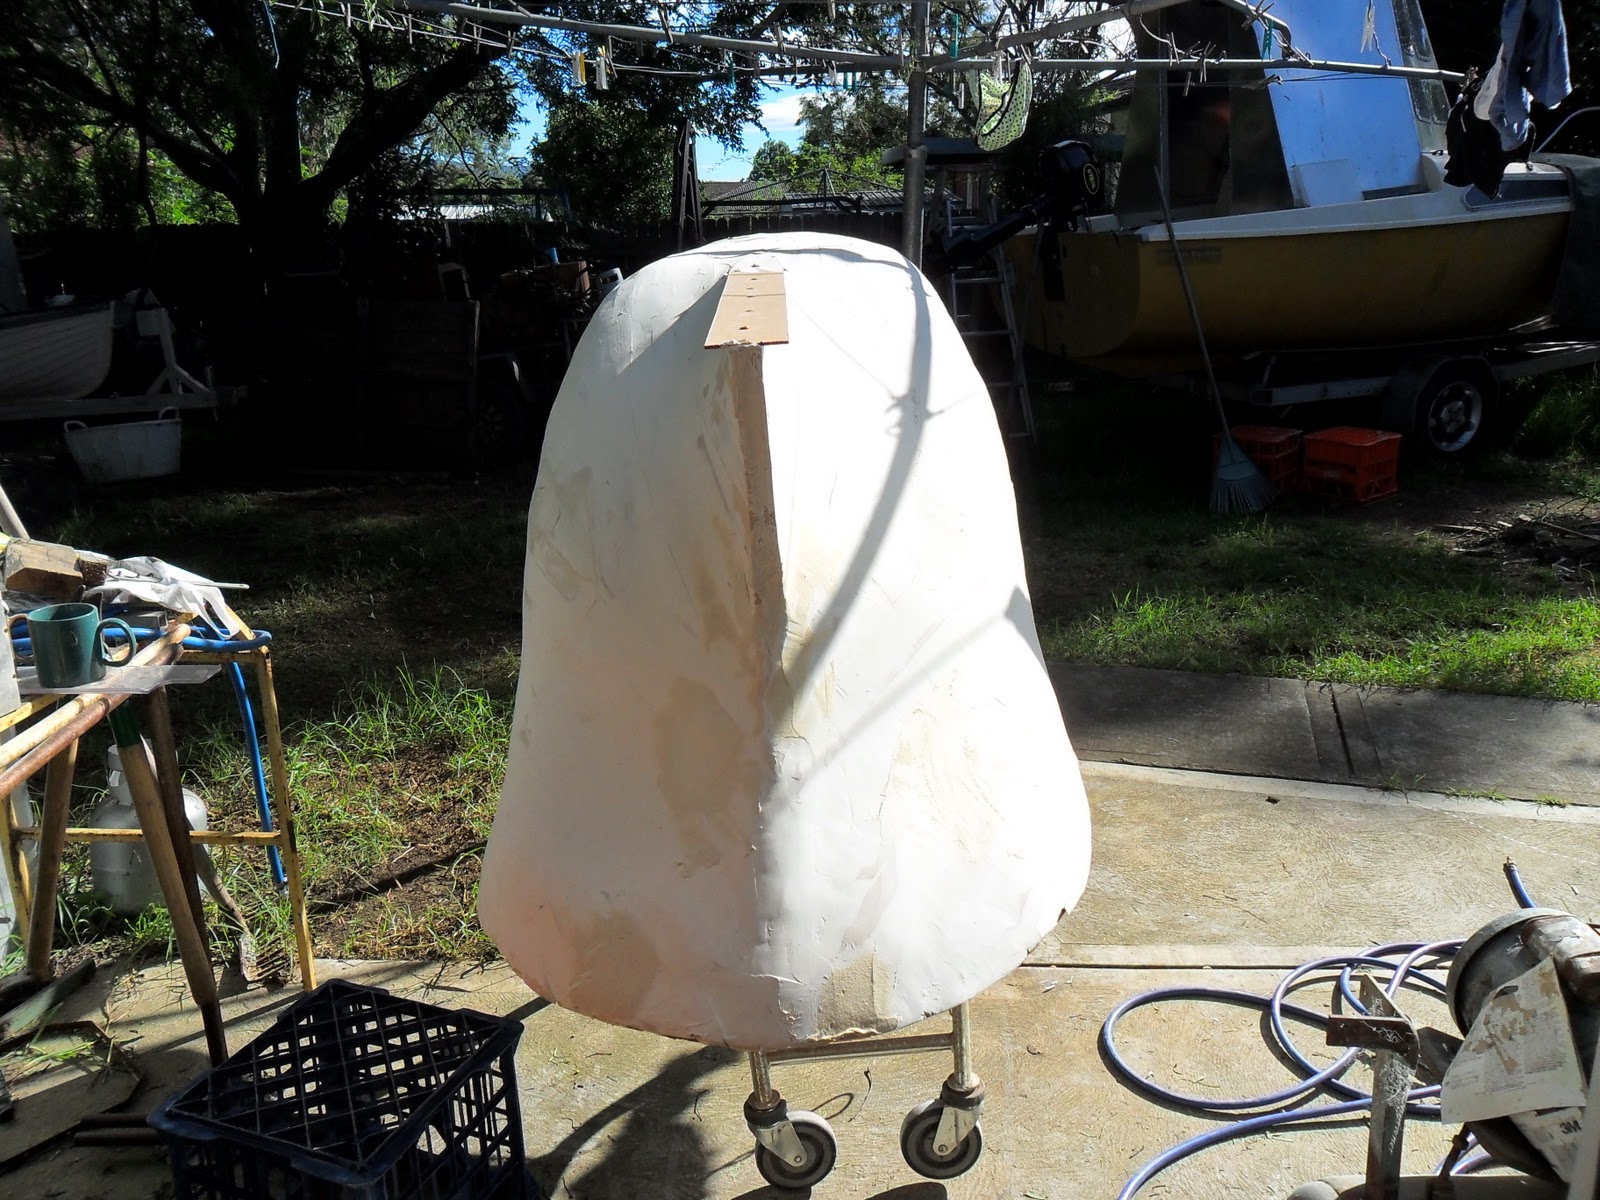
After the patches dried a coat of filler was applied.
 
Just a few different angles. 


The bow wit a bit of filler added.